
It is possible to export Systemize Enterprise Edition Quotes to QuickBooks Desktop for PC in a way that is fully supported by Windows. This export process only works in Edge in Windows. Using any other browser will display an error message and a link to help.
The Systemize EE QB Exporter will only work in the latest Edge builds by enabling ClickOnce applications in the Edge settings. For instructions on how to enable ClickOnce on the latest Edge builds see the "Current support for ClickOnce..." section at https://docs.microsoft.com/en-us/deployedge/edge-learn-more-co-di
When you click the Export to QuickBooks button the first time, it will install a small Windows application. Your browser and Windows will ask you various questions, answer in the affirmative to every question.
The first time you run this application, you must be logged into QuickBooks as an Administrator to give allow the correct permissions. After the setup, you can log in how you usually do.
Visit QuickBooks Integration Overview in the CounterGo Knowledge Base if you're looking for information about CounterGo's integration with QuickBooks.
- When an EE Quote is frozen click the Export to QuickBooks icon to export.

- If Edge asks if you want to open ExportQuoteToQuickBooks.application, choose Open.
- Windows will confirm you want to install the application, click Install.
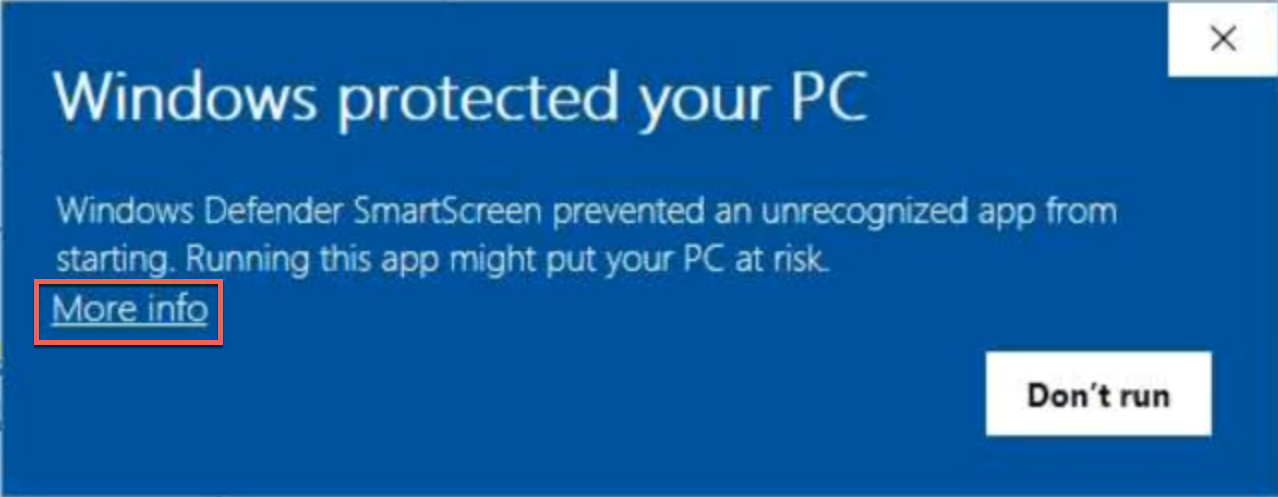
- If Windows Defender pops up a warning, click More info and then click Run Anyway. If QuickBooks isn't open, you'll receive an additional error.
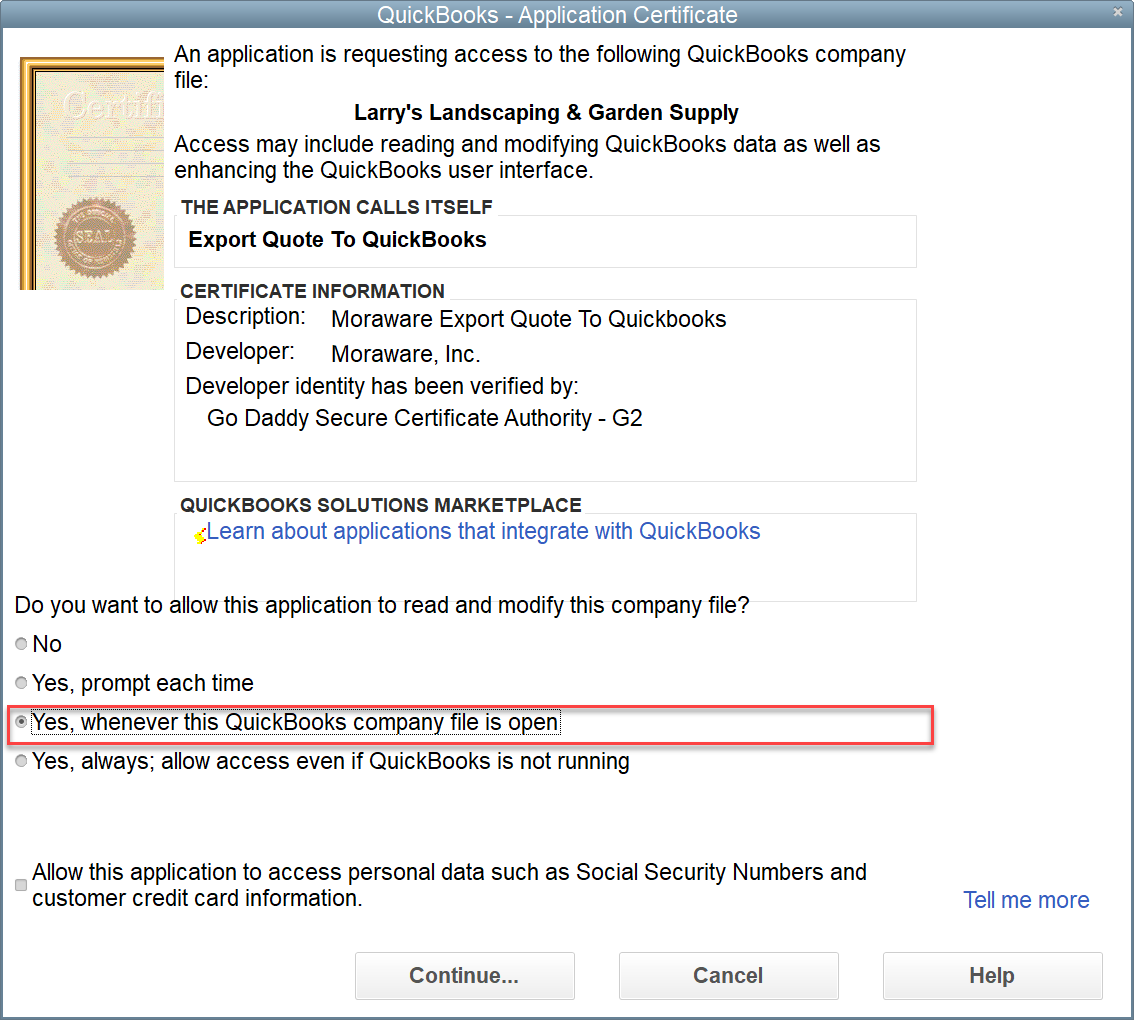
- QuickBooks will then request permission. Grant the application access.
- Once the application is installed and you've given QuickBooks permission, select the Invoice Type for the export. Estimates must be enabled in QuickBooks to see the Export As option.
- If the Account on the Quote doesn't already map to a customer in QuickBooks, match it now. Select an existing customer or choose the top option to create a new customer in QuickBooks with the same name as the Account in Systemize.
- Check Save this Mapping to remember the mapping next time you export a quote for that account/customer, and then click Next.
- If you already have salespeople in QuickBooks, match Systemize salespeople now. Or choose <None> for your QuickBooks Salesrep and click Next.

- Map each Product on the Quote to a QuickBooks Item. Check Save Mapping to remember the mapping for the next time that Product is used. Once a QuickBooks Item is selected for each line, click Next.

- Click Export and a the QuickBooks reference number will be displayed.