
Need a Report that totals the Square Feet scheduled for Installation on a weekly basis?
This Report shows all square footage, regardless of whether an Install has been Completed. If needed, add a Filter to limit the Report to only completed Installs under Customize. This Report shows the steps to create a Report based on Square Footage recorded in a Job Form.
If you use Orders from CounterGo, substitute Order Area for Job Form as the Subject Area.
Save the Report for quick access later by clicking on the Save As button at the top of the page.
Additional Fields can be added, but adding more detail adds rows. For example, if you add Job Name, you'll change the report into a subtotal of the Square Feet for each Job within each week.
- Select Reports from the side navigation.
- Click the Create button from the top > adjust Time Selection and Reporting Date if needed.
- For Measure, click the More button at the right
- Select Job Form as the Subject Area.
Choose the form that has the number you want to total and choose the specific Field for your Measure > Save.
NOTE: if your form doesn't have numeric values, you won't be able to use it in this way.The Time Field is subtle but important to understand. If you want to report on installs within a certain time period, then you choose Install Date as the time field. If there's more than one install activity in a Job, you need to specify which one to use.
If you're making a weekly report, and a Job has an Activity on Friday and another on Monday, in which week do you want to include the square footage for that Job? If you want that Job in the previous week, choose First in Job; if you want it in the later week, choose Last in Job. If you want to break the square footage down by phases, then choose First in Phase or Last in Phase.
- In the Report Options box, click on the ADD icon across from Display Fields to add the Fields you want to see.
For this Report, click on Week from the Time Fields > Save.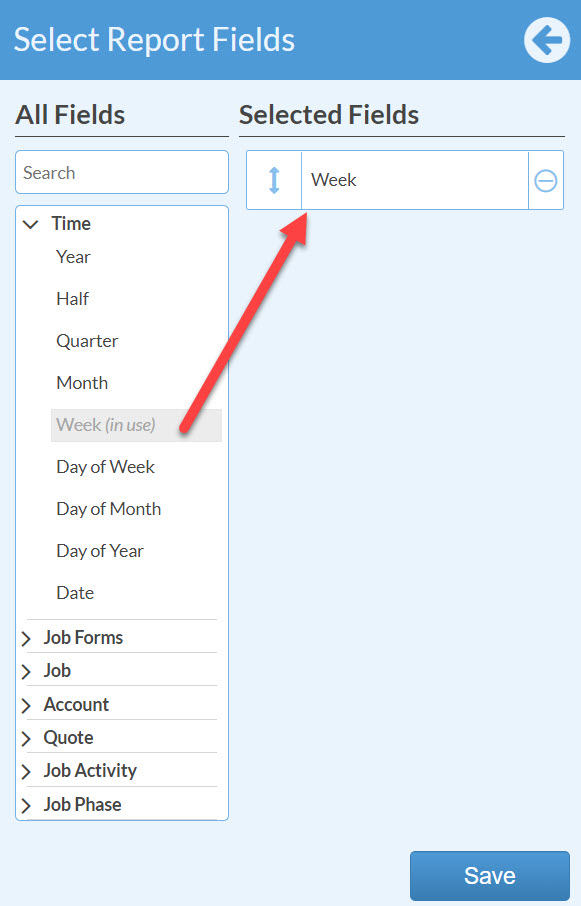
- The Options will look similar to this:

-
This example Report generated:
