This article supports Legacy Inventory, previously known as Systemize Inventory Edition, which is supported but no longer available for purchase.
Click here inventoryhelp.moraware.com to access the new Moraware Inventory Knowledge Base.
When you create a Remnant, the square footage of the original slab is distributed between the Job and the new Remnant. Because the Remnant and the original Job are linked, you need to be careful when making changes to the Remnant. For example, if you just change the length and width of the Remnant, you might end up with a negative Inventory amount.
If you need to fix the dimensions of a Remnant, we recommend deleting and then recreating the Remnant. It's a rather tedious process, but it will save headaches later on.
DELETE A REMNANT
- Go to Inventory and locate the Remnant that was created with the wrong dimensions. Do not start on the Job or these directions will be more confusing. In this example, we'll say the Remnant was supposed to be 50" x 40".
Click on the Serial Number.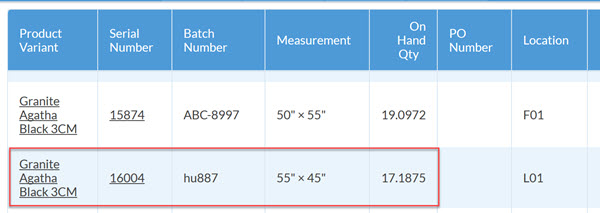
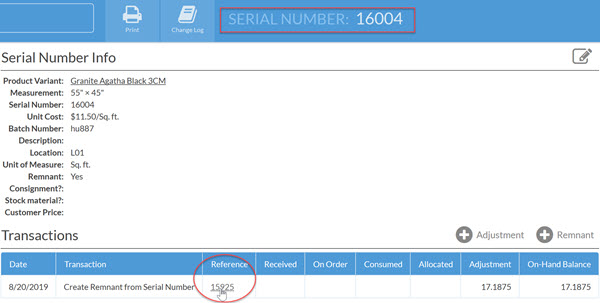
- Click the Reference number for the original slab.
- Click the Transactions Reference number for Create Remnant.
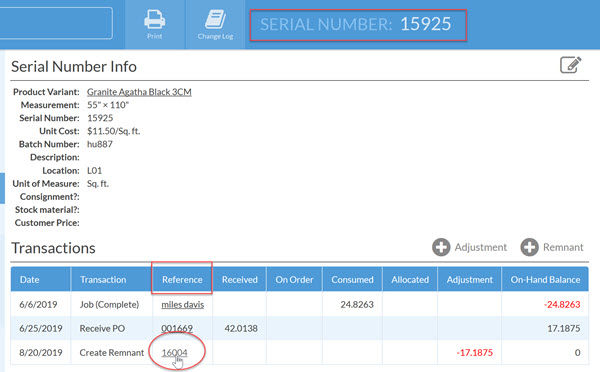
- Confirm the Serial Number and click Delete Remnant.

ADJUST A REMNANT
- The number in the lower right-hand corner for On-Hand Balance should be zero.
If you see a negative number in the On-Hand Balance column, click the Job Name in the Reference column for the Job with a negative number.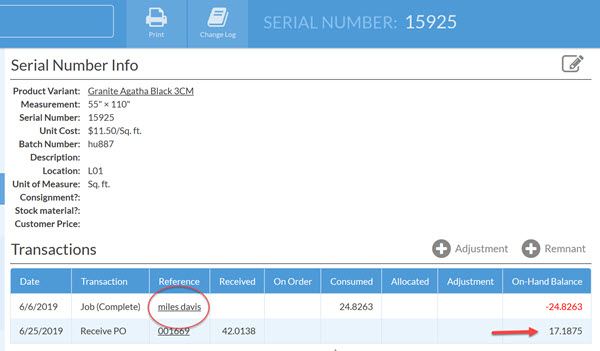
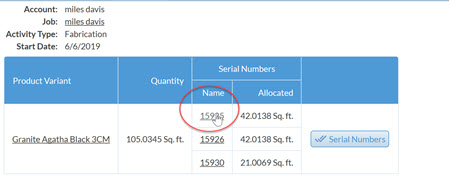
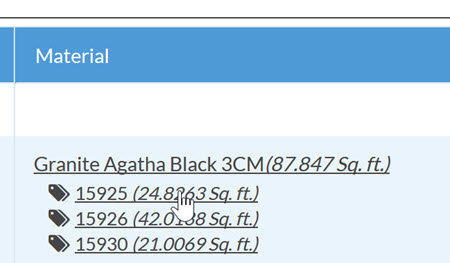
- Click the Material allocation.
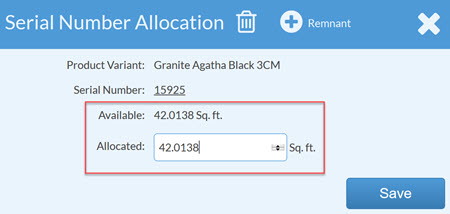
- Click the Serial Number.

- Change the square feet Allocated so it is the same number as Available.
- Now you can recreate a Remnant using the correct length and width.